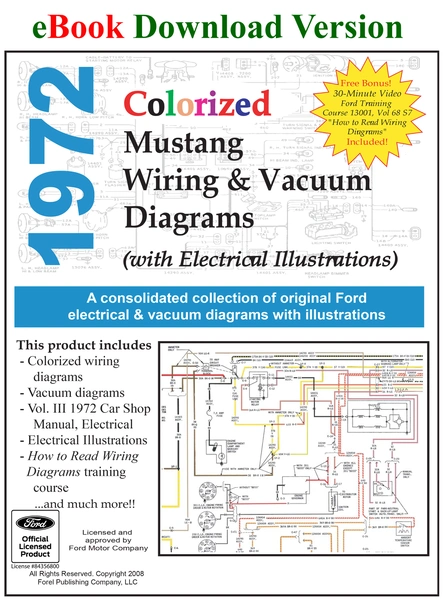
If you've ever opened the hood of a 1972 Mustang and felt overwhelmed by the tangle of wires snaking through the engine bay, you're not alone. The early '70s marked a transitional period for Ford, and the electrical systems became increasingly complex as federal regulations demanded more safety features, emissions controls, and creature comforts. That's what makes the 1972 Colorized Mustang Wiring/Vacuum Diagrams such an essential tool for anyone serious about maintaining or restoring these iconic ponies.
Why 1972 Was a Pivotal Year for Mustang Wiring
The 1972 Mustang sat at an interesting crossroads in automotive history. It was the final year before the controversial Mustang II redesign, and Ford was loading these cars with more electrical components than ever before. Seat belt warning systems, improved lighting circuits, and more sophisticated climate controls meant the wiring harnesses grew dramatically more intricate compared to the simpler systems of the mid-'60s models. What once could be traced with a simple black-and-white diagram now required something more comprehensive.
The Challenge of Wire Color Discrepancies
Here's something you won't find in your typical manual description: the diagrams include an important caveat about wire colors. The colorized versions may not perfectly match what you're looking at under your dashboard. Why? The colors were adjusted for visual contrast to make the diagrams more readable. This isn't a flaw—it's actually a thoughtful design choice. When you're tracing a circuit through multiple connectors and splices, you need to see the differences clearly on paper. The manual addresses this by recommending you cross-reference multiple diagrams if you're unsure, which is honestly smart troubleshooting methodology anyway.
Understanding the Ground Code System
One of the most valuable aspects of these diagrams is the ground code system. Each ground point is labeled (G1, G2, etc.), and there's a comprehensive chart showing where these grounds are physically located on the vehicle. If you've ever chased down an intermittent electrical gremlin, you know that corroded or loose grounds are often the culprit. Being able to quickly identify that a particular circuit grounds at G4 behind the dashboard versus G7 in the engine bay can save you hours of frustration.
The Harness Number System Explained
The manual includes harness numbers—those 5-6 digit codes that identify specific wire parts. This might seem like trivial information until you're doing a restoration and need to source correct replacement wiring. These numbers help you identify not just what the wire does, but which physical harness it belongs to. For someone attempting a period-correct restoration, this level of detail is invaluable.
The Bonus Training Video Advantage
What sets this particular product apart is the inclusion of a 30-minute Ford training video on reading wiring diagrams. This isn't some modern interpretation—it's original Ford training material. The video teaches you to think like a factory technician, showing you how to systematically trace circuits through connectors and splices to isolate problems between components. Whether you're troubleshooting why your backup lights aren't working or tracking down a radio short, this methodical approach is what separates successful repairs from parts-swapping guesswork.
More Than Just Wiring
Don't overlook the vacuum diagrams included here. The 1972 Mustang's emissions control systems relied heavily on vacuum-operated components, and these diagrams show you exactly how everything should be routed. Incorrect vacuum routing can cause poor idle, hesitation, and failed emissions tests—issues that often get misdiagnosed as carburetor or ignition problems.
For anyone who's serious about maintaining their 1972 Mustang, this manual represents the kind of resource that prevents expensive mistakes and wasted time. It's the difference between confidently tackling electrical work yourself and being forced to trailer your car to a shop that may or may not have experience with early '70s Fords.